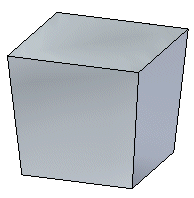
Choose Home tab→Solids group→Draft. 
On the Add Draft QuickBar, click the Draft Options button and then use the Draft Options dialog box to specify how you want to define the pivot location for the draft feature.
Define the draft plane.
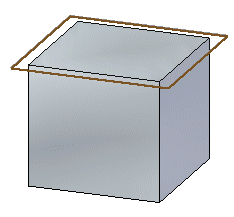
For an add draft feature defined by a part edge, parting line, or parting surface, select the parting geometry, click the Accept  button on the command bar, and then click the Next button on the command bar.
Select the faces you want to draft, and define the draft angle or angles.
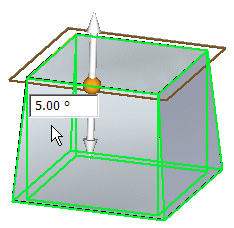
In the graphics window, position the cursor so that the draft direction handle is displayed correctly, then click.
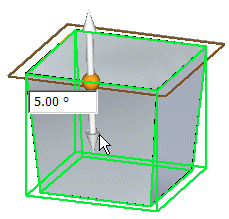
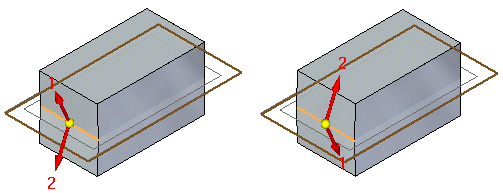
For split drafts, position the cursor to specify the draft directions. If draft directions 1 and 2 are the reverse of what you want, reposition the cursor to switch the draft direction.
Right-click to finish the feature.
