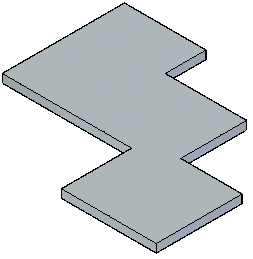
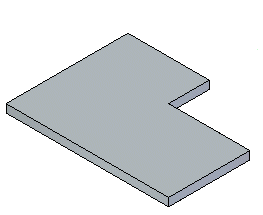
You can construct a tab as a base feature or add a tab to an existing sheet metal part.
Choose Home tab→Sheet Metal group→Tab  .
.
Define the profile plane.
Draw an open profile in any 2D shape or copy a profile into the profile window. The ends of an open profile are extended to the edges of the part plane. An arc with open ends is extended to form a circle.
Note:
If you are using the Tab command to construct a base feature, the profile must be closed.
Choose Home tab→Close group→Close.

Finish the feature.
Position the cursor over a sketch region, then click to select it.
The extrude handle is displayed.
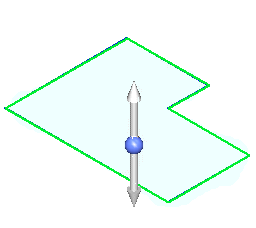
Click the Extrude handle.
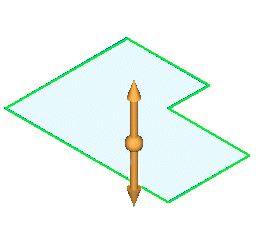
Type a thickness value for the part.
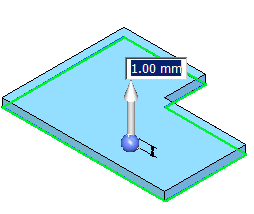
Right-click to create the tab.
Tip:
You can choose the Material Table button on the command bar to display the Solid Edge Material Table dialog box to make changes to things such as global thickness, bend relief, and relief depth.
You can click the direction indicator handle to change the offset direction.
Position the cursor over a sketch region, then click to select it.
The extrude handle displays.
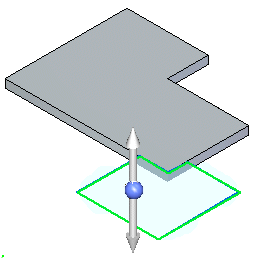
Click the Extrude handle.
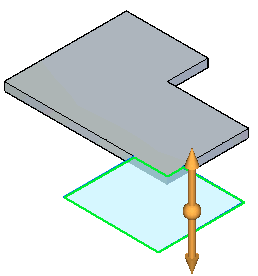
The tab is automatically added.
