Text Profile command
Text Profile command
Text Profile command
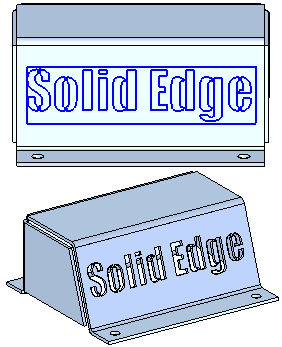
Creates and places text as a sketch element. This allows you to construct features that represent text on your parts, such as labels and stamped numbers. You also can use text profiles as embossed text features.
When placing a text profile, it is displayed in a box by default:

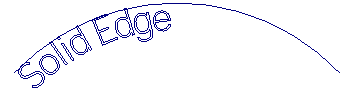
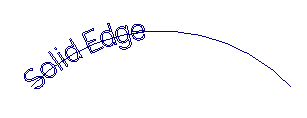
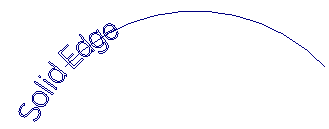
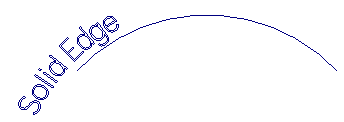
If you place it along an analytic, such as an arc, it acts like this:

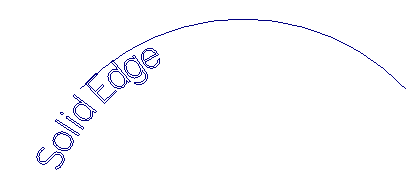
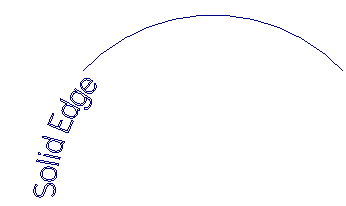
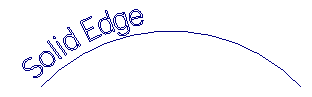
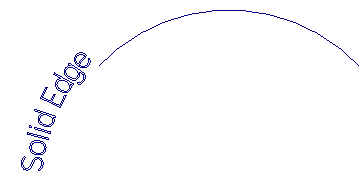
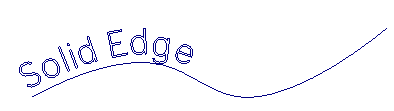
You also can place it along a curve, like this:
Note:
To place a text profile along an arc or a curve, the Point On Element option on the Relationships tab on the IntelliSketch dialog box must be set.
After you create a text profile, you can use the Extrude command to generate a 3D text feature.
The Text Profile workflow consists of two steps:
Specifying the text and text formatting.
Specifying the text profile orientation and location.
When creating and editing a text profile, the Text dialog box is where you type the text as you want it to display on the feature and specify its formatting. Formatting options include font type, font style, and size, letter spacing, line spacing, and its horizontal alignment (left, center, right). Press the Enter key to create multi-line text and to insert lines to create paragraphs.
When creating text features that go all the way through a part, such as with sheet metal parts, it is a good idea to use the Solid Edge Stencil font. This font was designed for manufacturing.
The width of the text profile is determined by the width of the longest line of text typed in the Text dialog box. Its height is defined by the number of lines of text typed. You can control the spacing between the text and the text profile boundary box by changing the Margin setting.
You place a text profile by specifying one of nine possible anchor points on the text, and then clicking a placement point in the graphics window.
Use the Anchor button on the Text Profile command bar to set the anchor point for the text. The anchor point can be any of the following:
|
Anchor Point |
Effect on Text Profile |
|
Top Left |
|
|
Top Center |
|
|
Top Right |
|
|
Center Left |
|
|
Center Center |
|
|
Center Right |
|
|
Bottom Left |
|
|
Bottom Center |
|
|
Bottom Right |
|
A target cursor is displayed and attached to the text profile box at the specified anchor point. As you move the cursor around the graphics window, the text profile box moves with it. The target cursor can locate keypoints, lines, alignment indicators, centers, and edges. To be selectable, the elements must reside in the same sketch as the text profile.

When you click to place the text profile, the anchor point is matched to the placement point. If you click a keypoint, a connect relationship is established between the text profile box and the element.
To place a text profile along a curve or arc so that the text follows the curve, locate and click the start point or the end point of the curve or arc.
To create a vertical text profile, click a vertical line in the profile or sketch.
You can reposition a text profile by selecting and moving it. In 3D environments, you may need to use QuickPick to select only the text profile.
If the text profile object is constrained, click the Reposition button on the Text Profile command bar to delete the anchor constraint and then move the text profile.
Depending upon what types of elements you locate with the target cursor, PromptBar may display prompts for one or more of these additional placement options. For example, before you click to place the text profile, you can press T to change the orientation of the text.

Before placing multiline text along a curve or arc, you can press N to choose an alternative display option.
Note:
You can attach text to a line in the sketch, and then use the Rotate command to rotate the line and the attached text.