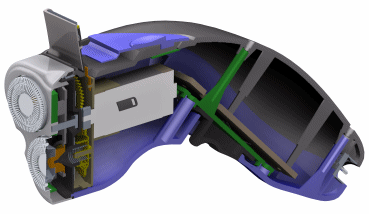
You can build an assembly that contains a mix of ordered and synchronous parts and subassemblies.
The following process shows how you can assemble parts, position them precisely, and generate an assembly bill of material report.

Create a document using the iso assembly.asm template.
Place the first part in the assembly by dragging it from the Parts Library into the graphics window.
This action grounds the first part.
Using the assembly relationship options on the Assemble command bar, Position the part. For example:
Continue building the assembly by doing any of the following:
To place bolts or nuts into holes on protrusions, Insert a part in an assembly.
Use the PathFinder in assemblies to:
View, modify, and delete the assembly relationships used to position the parts and subassemblies.
Reorder parts in an assembly.
Diagnose problems in an assembly.
Use display configurations to hide, unload, and inactivate assembly components. See Displaying parts in assemblies to learn more.
To move and rotate parts, use either of the following:
Use the FlashFit option on the Assemble command bar.
Use Live Rules to manipulate part geometry in the context of an assembly.
Use the Item Numbers page (Solid Edge Options dialog box) to create item numbers for the parts and subassemblies in the assembly.
Use the Occurrence Properties dialog box to review and edit the item numbers for parts and subassemblies.
Choose the Tools tab→Assistants group→Reports command to Create an assembly report.
Example:
Assembly report types include a bill of materials for parts and subassemblies; lists of pipes and fittings; or wire harness components and connections.
(Optional) You can continue with any of these workflows: